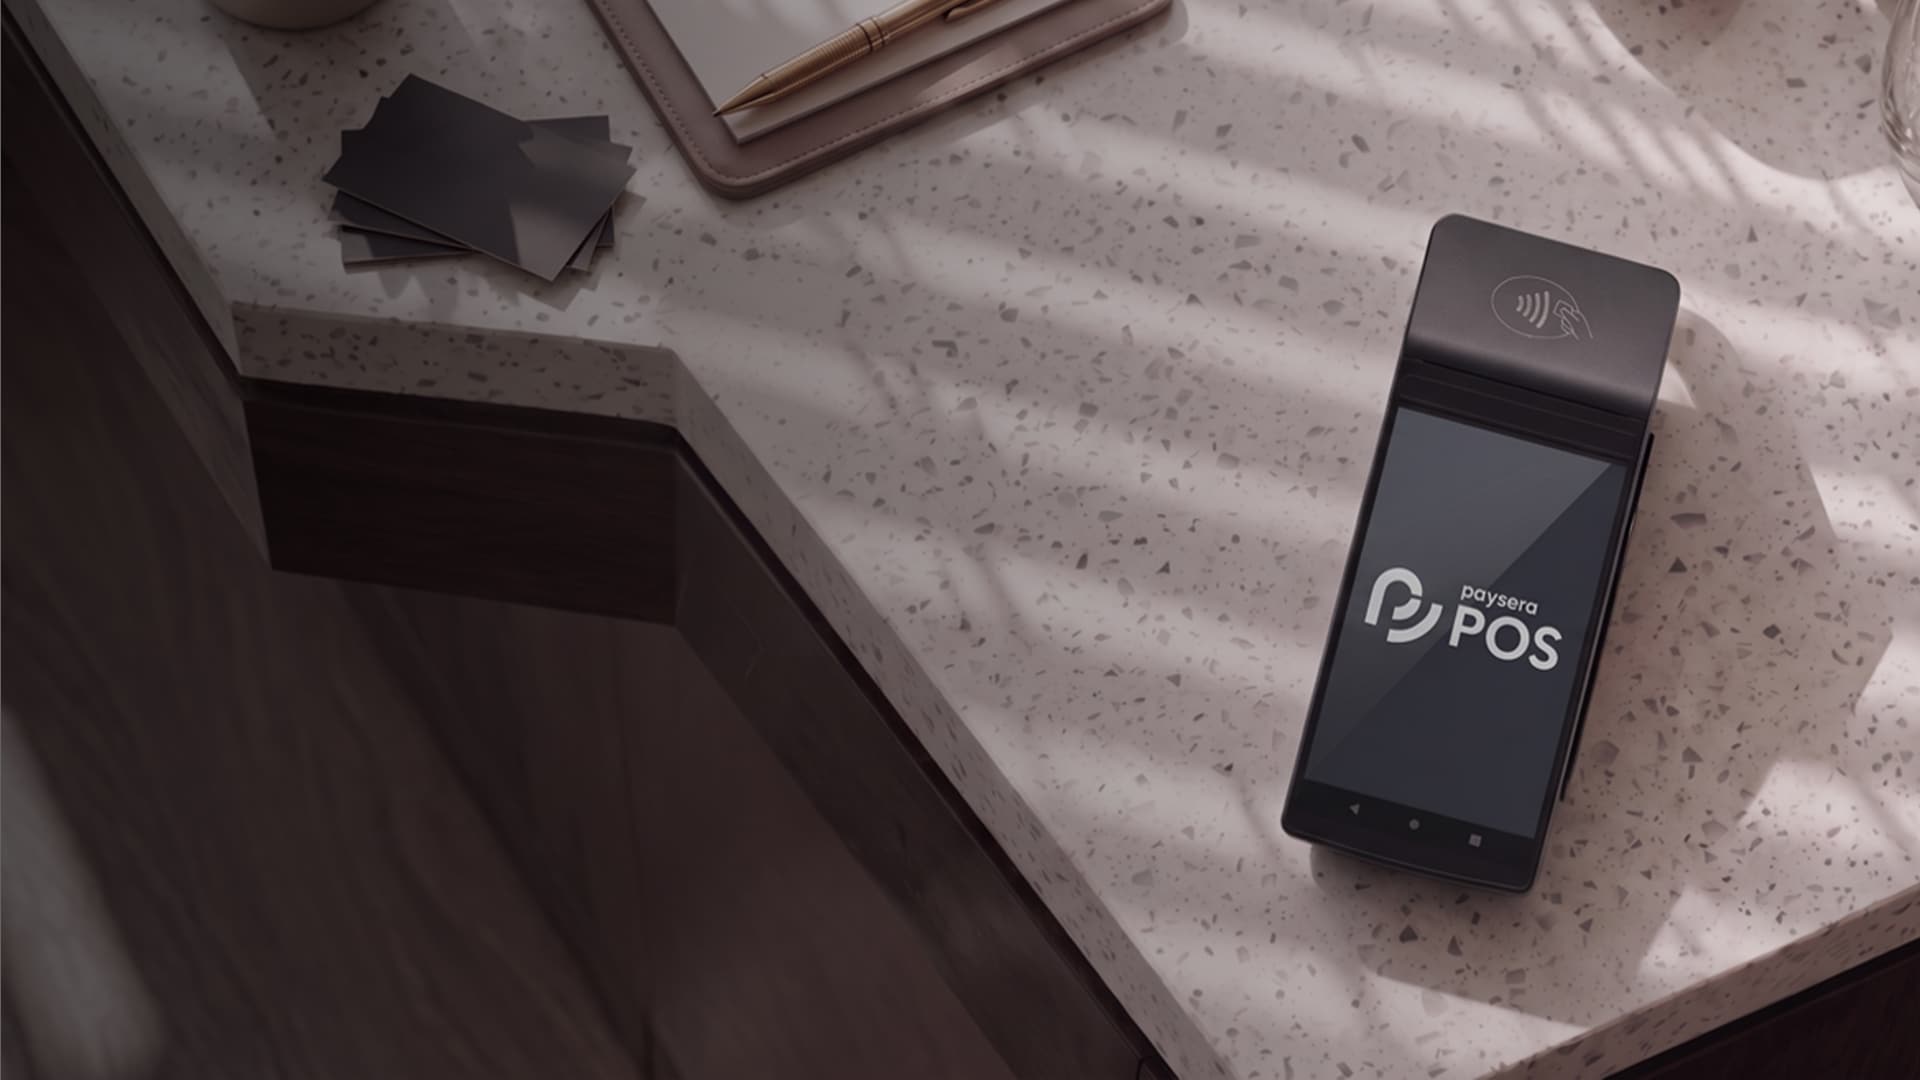
Prepare the Card Reader
First steps with your new Paysera card reader
- 1
Turn on the reader
Press and hold the power button until the Paysera logo appears on screen. A fully charged reader works for up to 8 hours.
- 2
Charge the reader
Connect the USB-C cable to the reader and power outlet. Full charge takes about 2 hours. You can use the reader while charging.
- 3
Connect to Wi-Fi
Go to Settings → Network and select your Wi-Fi network. Enter the password. The reader will automatically connect to the network.
- 4
Enter the activation code
When connecting for the first time, the system will ask for a four-digit code. You'll find this code in the reader box or receive it by email.
These are the only settings you need to configure on the reader itself. Everything else is managed through your pos.paysera.com account.
Activate Customer Display
How to enable the customer screen that shows the purchase amount
- 1
Open browser on the reader
Find the browser icon on the reader screen and tap it.
- 2
Copy the customer display address
In the pos.paysera.com system, in the Register section, you'll find a copy icon next to the customer display link. Click it.
- 3
Paste the address in the reader
Paste the copied address in the reader's browser and press Enter.
- 4
Activate the display
Return to the Paysera POS system and click the Activate Customer Display button in the Register section.
The customer display shows the purchase amount in real-time. This helps ensure transparency and speeds up checkout.
Order NFC Tags
How to order product labels with QR codes
Paysera POS allows you to generate QR codes for each product. You can print these codes and attach them to shelves or products. Scanning the QR code automatically adds the product to the cart.
- 1
Generate QR codes
In the product card, click Generate QR Code. The system will create a unique code for this product.
- 2
Download labels
You can download labels in PDF format and print them with a regular printer.
- 3
Attach labels
Attach labels in a visible location - on shelves, products, or price tags.
Start Selling
How to make your first sale
- 1
Create products
Log in to pos.paysera.com and create at least one product that you will sell.
- 2
Open the register
In the Register section, select a product and click Add to Cart.
- 3
Choose payment method
You can accept payment in cash, by card, or combined.
- 4
Complete the sale
Confirm the payment. The system will automatically save the transaction and send data to the VMI i.EKA system.
- 5
Issue receipt
You can print a paper receipt or send an electronic receipt to the customer via email or SMS.
Set Window Display
Choose the register view according to your needs
Paysera POS offers three different register window options. Each is adapted for different business types.
Classic
E-shop style view with product images and categories. Suitable for retail.
Touch
Large button interface, convenient for tablets. Ideal for HoReCa business.
Scanner
Optimized for barcode scanner work. Suitable for stores with large product assortment.
To change the register view, go to Settings → Payment Terminal and select the desired option.
Add Employees
How to create employee accounts with different permissions
- 1
Create a user group
Go to Administration → Users and Groups → User Groups. Create a group (e.g., Sellers, Managers) and set its permissions.
- 2
Create a user
Go to Administration → Users and Groups → Users. Create a new user and assign them to the appropriate group.
- 3
Set payment terminal
Each employee must select their default payment terminal in Settings → Payment Terminal.
We recommend creating separate accounts for each employee. This helps track individual sales and ensures accountability.